Why the Buller Huts Trail?
I love the Victorian High Country. For me, there’s nothing more grounding, relaxing, and enjoyable than hiking in the Alps and leaving the world behind with a pack on my back, finding peace in nature. I’ve hiked most of the day hikes, overnighters and multi-day hikes in this region, but after completing the Overland Track in Tasmania, I really wanted a similar experience in Victoria.
That’s why I started the Buller Huts Trail.
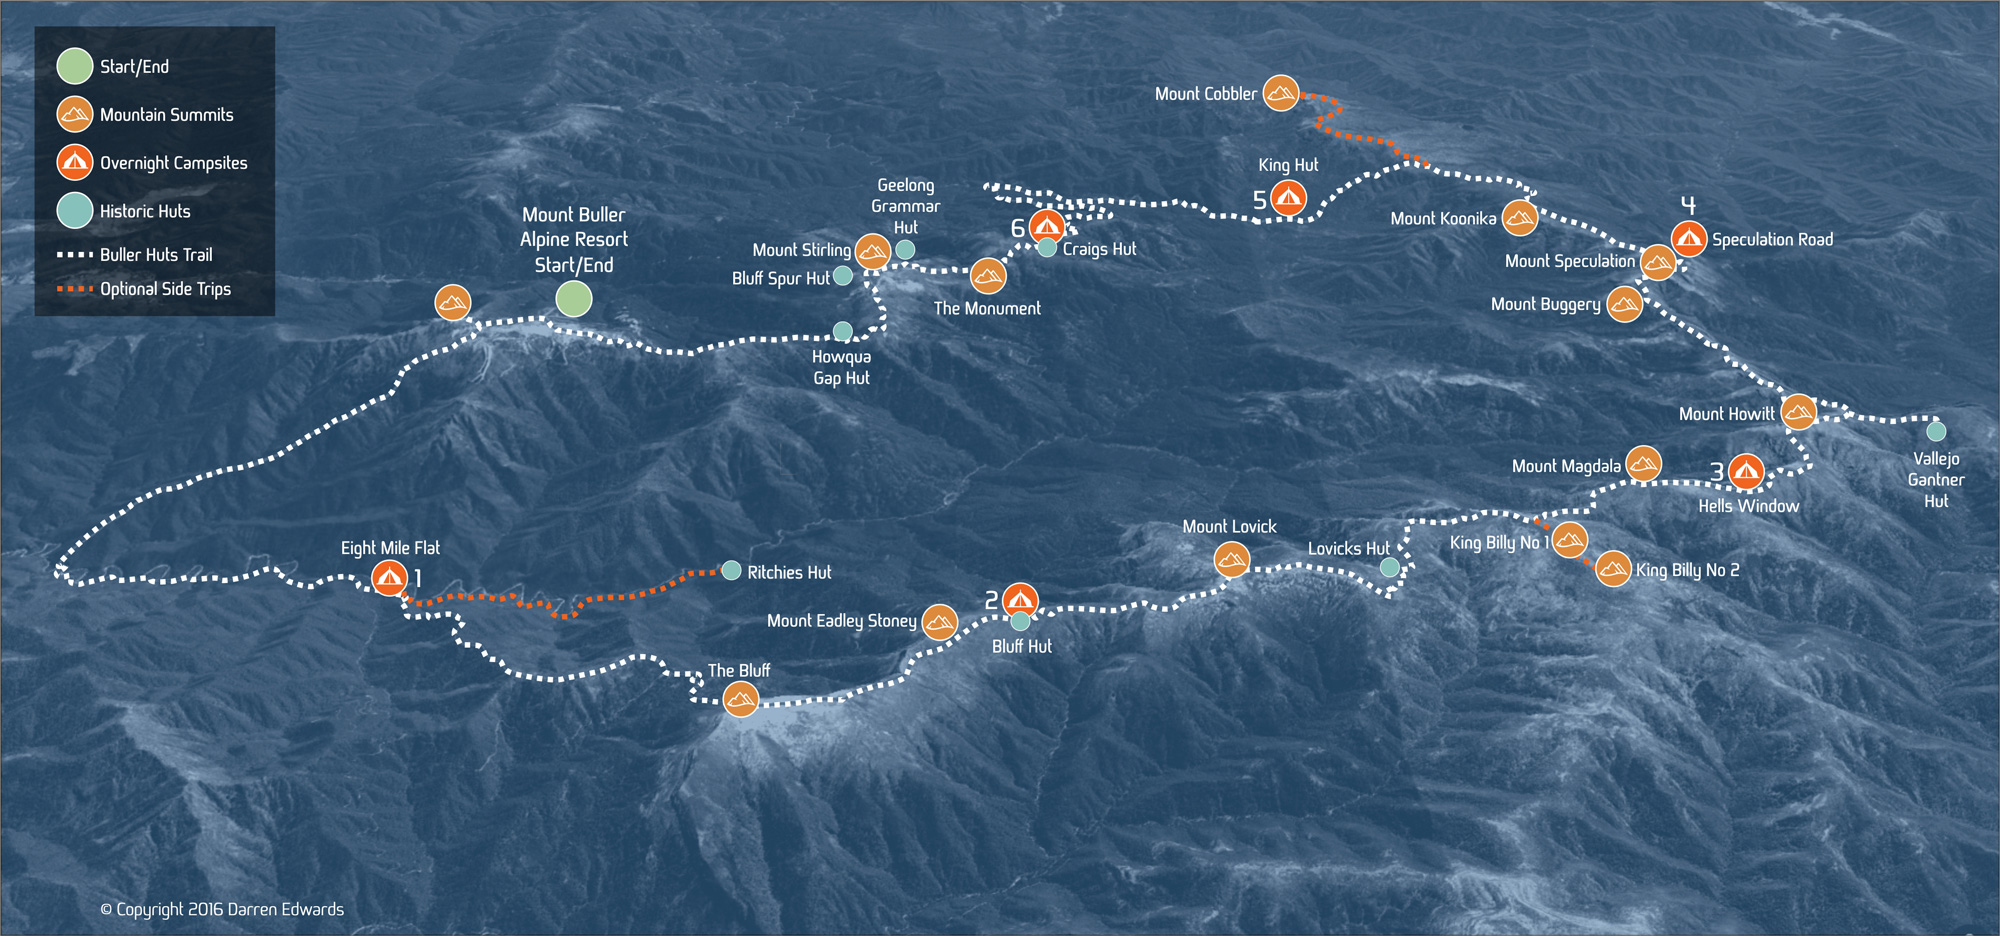
The rugged remoteness of the Victorian Alps is the inspiration behind the Buller Huts Trail, an amazing 96km, 7-day, grade 5 circuit hike that I’m hoping will become one of Australia’s great walks and iconic multi-day adventures.
I started the Buller Huts Trail because I wanted to create a challenging and rewarding hiking experience that would showcase the best of the Victorian Alps. I am also inspired by the high country huts that are scattered throughout the region, and wanted to make it easier for people to access and enjoy them. Linking high country huts with spectacular mountain summits seemed like a great plan. So, I pulled out my topographic maps and got to work.
I wanted to create a trail that would take people to some of the most beautiful and remote parts of the Victorian Alps. I also wanted to create a trail that would be challenging but achievable, and that would reward people with stunning scenery and a sense of accomplishment.
A Multi-day Adventure in the Victorian Alps
Day 1: Mount Buller to Eight Mile Flat
I started my Buller Huts Trail adventure at the carpark at the end of Summit Road in the Mount Buller Alpine Village. The morning air was crisp and the sun was shining brightly, illuminating the snow-capped peaks of the surrounding mountains. I took a deep breath and savored the moment, excited to embark on what I hoped would be a challenging and rewarding trek.
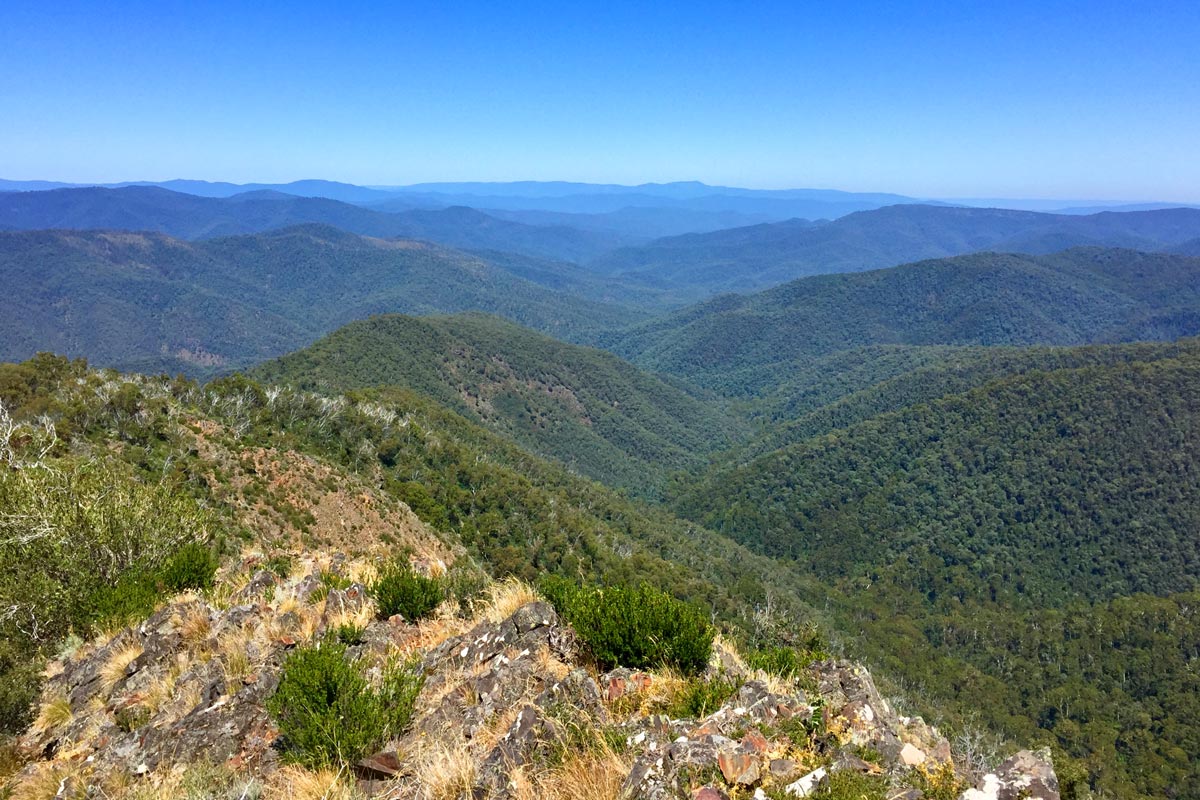
I followed the Summit Nature Walk to the summit of Mount Buller for spectacular views over the high country, before descending across the ski runs to make my way down 4 Mile Spur.
The descent was steep and narrow, with some rock scrambling required, but the views were spectacular. I could see Mount Buller towering above me, as well as the distant peaks of Mount Howitt and Mount Stirling.
After about 6.5 km, I reached the Howqua River. The river was flowing slowly and was relatively shallow, so I was able to cross without any problems. I took a moment to rest and refill my water bottles before continuing on my journey.
On the other side of the river, I picked up the Howqua River High Path and followed it east for 6.5 km to Eight Mile Flat. This section of the trail was relatively flat and easy to walk. I passed through several stands of tall eucalypts and fern gullies, and I saw a variety of wildlife, including kangaroos, wombats, and birds.
I arrived at Eight Mile Flat in the late afternoon. The campsite is located on a bend in the Howqua River, and it is surrounded by trees and shrubs. I set up my tent and cooked dinner. I enjoyed listening to the sound of the river flowing as I ate my meal and reflected on the day’s hike. I was looking forward to the next day of hiking on the Buller Huts Trail.
Specific tips for Day 1:
- The descent along 4 Mile Spur can be steep and slippery, so take your time and be careful.
- Be aware of the potential for flash flooding in the Howqua River, especially after heavy rain.
Day 2 – Eight Mile Flat to Bluff Hut
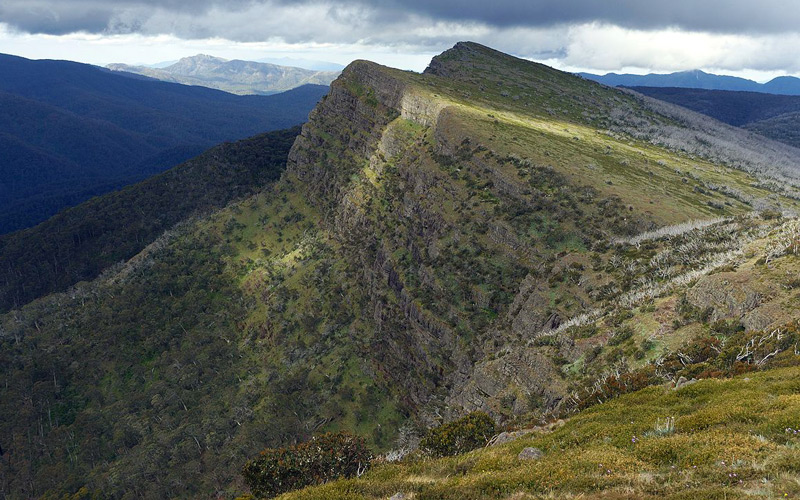
I woke early on Day 2 of the Buller Huts Trail, eager to tackle the challenging ascent up 8 Mile Spur to the summit of The Bluff. I left camp at around 7am and made my way up the narrow trail, winding through dry open forest. The climb was steep and unrelenting, but I took my time and made sure to take breaks whenever I needed them.
As I got closer to the summit, the views became more and more spectacular. The final 70 meters to the summit was nearly a rock climb. I scrambled over rocky outcrops and used my hands to pull myself up, and finally, I emerged onto the summit of the Bluff.
I was greeted by breathtaking 360-degree views. I could see for miles in every direction. It was an incredible feeling to be standing on top of The Bluff, surrounded by such beauty. I spent some time at the summit, enjoying the views and taking in the fresh mountain air.
Afterwards, I continued on to Bluff Hut, following the trail through alpine meadows carpeted with wildflowers. I arrived at Bluff Hut in the late afternoon and spent some time relaxing and enjoying the scenery.
Overall, Day 2 of the Buller Huts Trail was an amazing experience. The ascent to The Bluff was challenging, but the views from the top were definitely worth it. I’m so glad I decided to hike this trail.
Specific tips for Day 2:
- Take your time on the ascent of 8 Mile Spur and be careful of the rock scrambling.
Day 3: Bluff Hut to Hellfire Creek
I woke early on Day 3 of the Buller Huts Trail, ready for a long walk along 4WD tracks. The weather was perfect, with clear skies and a cool breeze.
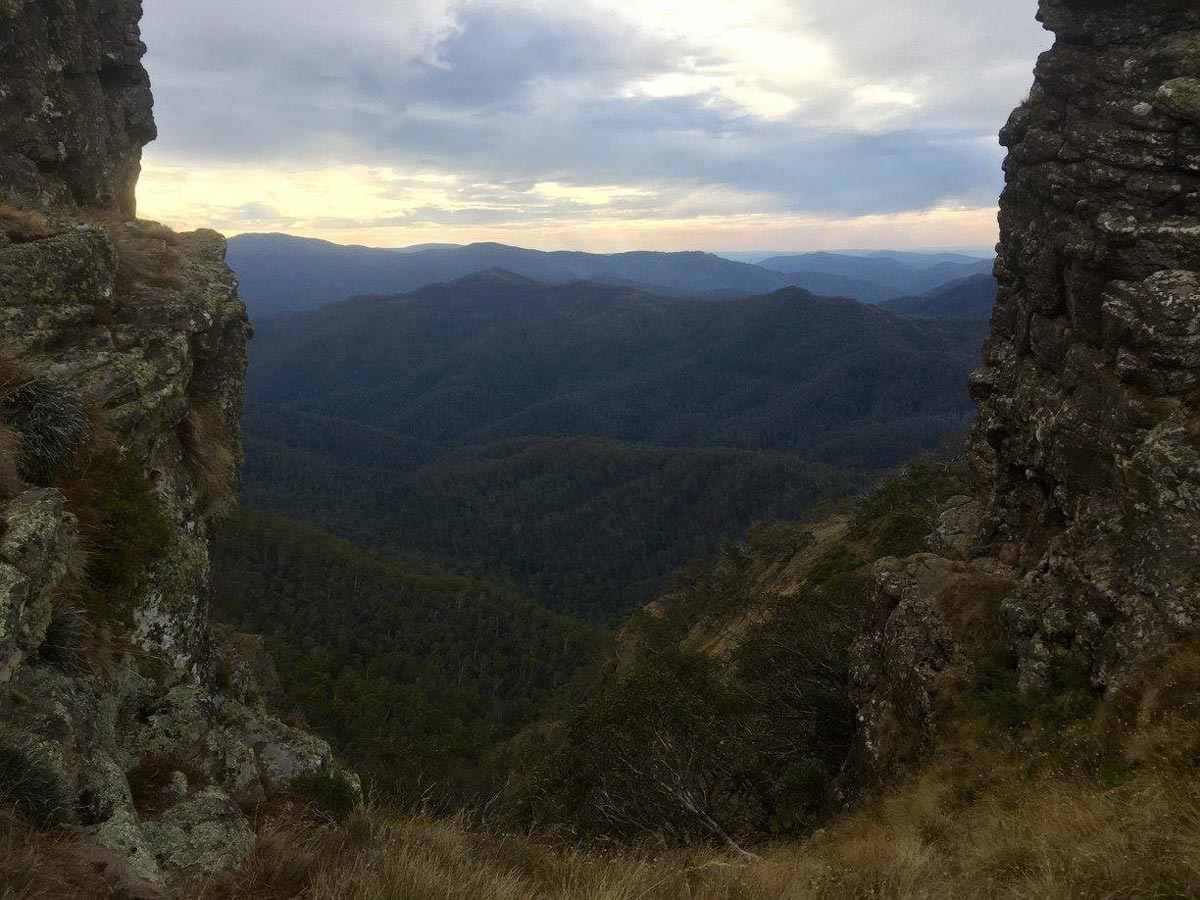
I started my day by following Bluff Track east from Bluff Hut. After about 3 kilometers, I reached the summit of Mount Lovick (1684m). The views from the summit were spectacular, with panoramic views of the surrounding mountains and valleys.
I continued on along Bluff Track for another 2.6 kilometers, until I reached the junction of Lovick Hut Trail. At this point, I left Bluff Track and descended to Lovicks Hut. The hut is located in a beautiful valley, surrounded by snow gums and wildflowers.
Approximately 1.2 kilometers north of Lovick’s Hut, I reached the junction of Helicopter Spur. This is one of the steepest spurs in the region, but it’s also a rewarding hike in its own right.
After a kilometer or so, I reached Picture Point, which offers spectacular views of the surrounding mountains. I stopped at the lookout for a while to take in the scenery.
From Picture Point, I continued on along Bluff Track until I reached the junction of the Australian Alps Walking Trail (AAWT). I followed the trail in a north-easterly direction towards Mount Magdala. This section of the AAWT is one of the best sections of the long-distance trail. It winds through alpine meadows, past snow gums, and over rocky outcrops.
After about 5 kilometers, I reached the saddle between Mount Magdala and Big Hill. Here, I found Hellfire Creek, an open grassy campsite among the snow gums. I set up camp for the night at this beautiful spot.
I had a wonderful day hiking through the alpine scenery. The long walk along the 4WD tracks was relatively easy, and the ascent of Mount Magdala was challenging but rewarding. I’m looking forward to continuing my journey on the Buller Huts Trail tomorrow.
Specific tips for Day 3:
- Be sure to be prepared for self-sufficiency at the Hellfire Creek campsite as water availability at the Hellfire Creek campsite is uncertain.
Day 4: Hellfire Creek to Camp Creek
I again woke early on Day 4 of the Buller Huts Trail, excited to tackle the long and steady ascent of Mount Howitt (1742m).
I started my day by following the trail north-east from Hellfire Creek. The trail winds through alpine meadows, past snow gums, and over rocky outcrops.
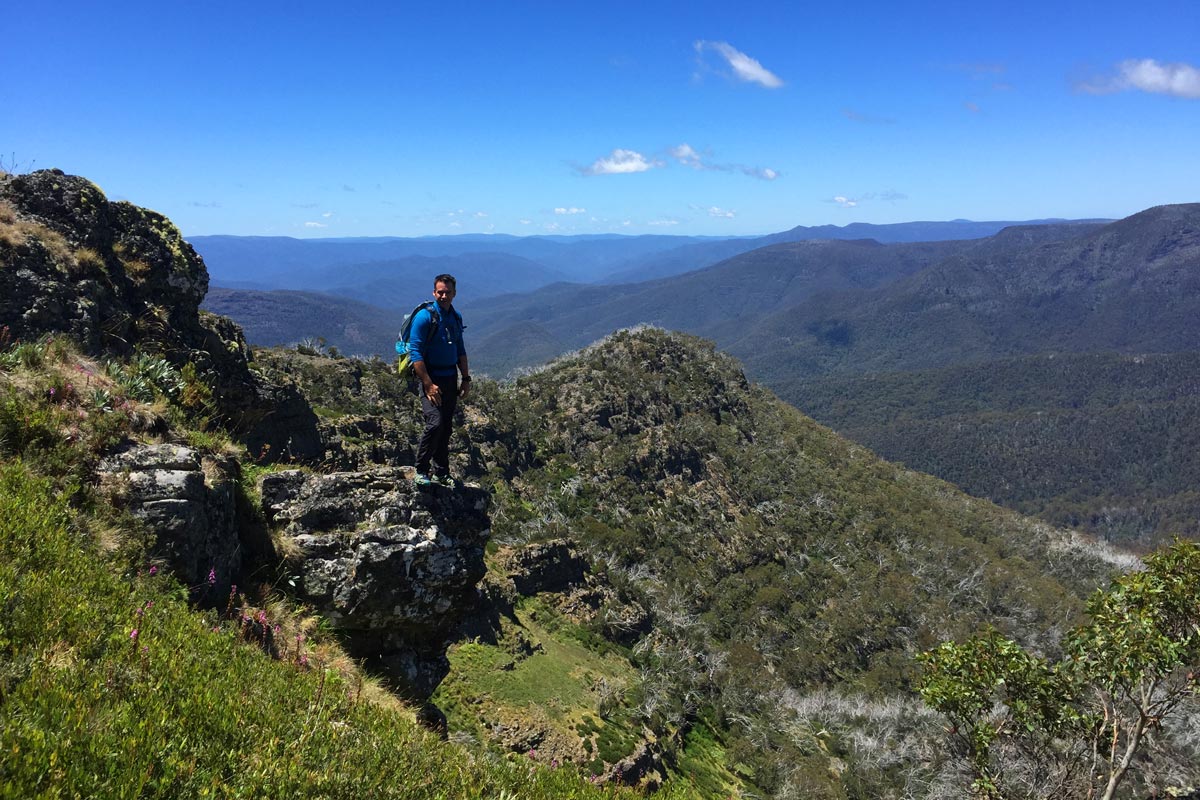
The ascent of Mount Howitt was not overly challenging, and the views from the top were definitely worth it. I could see for miles in every direction, including the Crosscut Saw to the north. I took some time at the summit to enjoy the views and rest my legs before continuing on my journey.
From Mount Howitt, I descended to the junction of the Crosscut Saw and Mount Howitt Walking Track. I then headed directly east to Macalister Springs and the Vallejo Gantner Hut. Macalister Springs is a very reliable water source, so I stopped to refill my water bottles.
After visiting Macalister Springs, I returned to the junction of the Crosscut Saw and began the challenging traverse. The Crosscut Saw is a narrow ridge with steep drop-offs on either side. It’s not for those with a fear of heights!
The traverse took me over the summit of Mount Buggery, through Horrible Gap, and to the broad summit of Mount Speculation. I took my time on this section of the trail, making sure to plant my feet carefully and use my hands for balance whenever necessary through the many rock scrambles.
From the summit of Mount Speculation, I descended to Speculation Road and a reliable water source and campsite at Camp Creek. I decided to camp at Camp Creek for the night, as I was looking forward to a relaxing evening after the challenging traverse.
Mount Speculation is renowned for being one of the finest campsites in the high country. It’s located in a beautiful alpine meadow, surrounded by snow gums. There are no toilets available at the campsite, but there is a water source located at the head of the gully at Camp Creek.
I had a wonderful day hiking on Day 4 of the Buller Huts Trail. The ascent of Mount Howitt was not overly challenging, and the views from the top were definitely worth it. The traverse of the Crosscut Saw was also challenging, but it was an exhilarating experience. I’m looking forward to continuing my journey on the Buller Huts Trail tomorrow.
Day 5: Camp Creek to King Hut
I woke up early on Day 5 of my hike on the Buller Huts Trail. I was excited to descend Muesli Spur and reach King Hut.
I started my day by heading north-north-west along Speculation Road. The road was relatively flat and easy to walk. I passed through several stands of snow gums and alpine meadows.
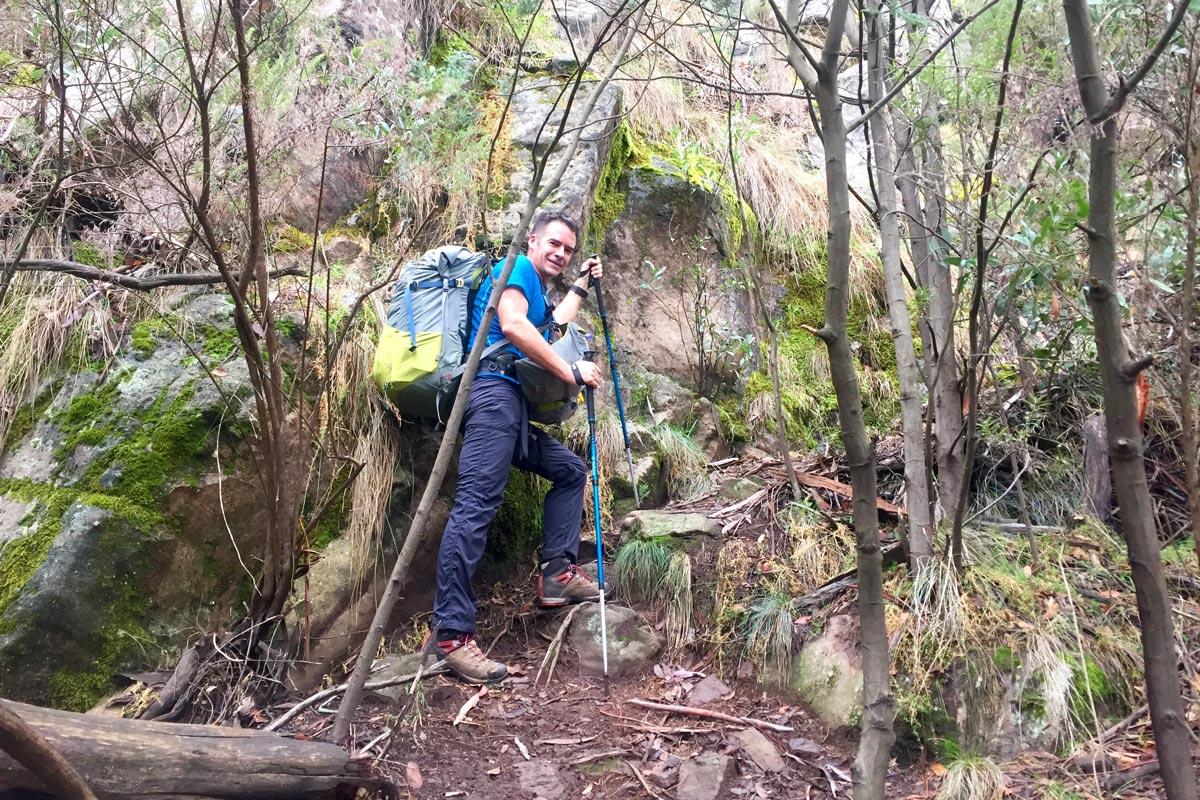
After about 7 km, I reached the start of Muesli Spur. The trail along the spur is narrow and steep, but it is reasonably maintained. There are some rocky sections, but they are not too difficult to navigate.
I took my time and was careful on my descent. I stopped several times to take in the views of the King River valley below.
Eventually I reached the end of Muesli Spur and intersected Speculation Road. I turned left and followed Speculation Road then King Basin Road for about 1.4 km until I reached King Hut.
The King Hut campsite is a beautiful spot. It is located on the banks of the King River, and it is surrounded by snow gums. I set up my tent and then cooked my meal, then went for a walk along the King River.
I had a wonderful time at King Hut. The campsite was beautiful and the scenery was amazing. I was looking forward to the next day of hiking on the Buller Huts Trail.
Specific tips for Day 5:
- Take your time and be careful on the descent of Muesli Spur. Be aware of the loose rock and steep terrain
- Enjoy the views of the King River valley from Muesli Spur.
Day 6: King Hut to Craigs Hut
I woke up early on Day 6 of my hike on the Buller Huts Trail. I was excited to reach Craigs Hut and enjoy the views from the knoll.

I started my day by following King Basin Road north-west for about 6.4 km. Then, I located McCormacks Trail on the south side of the road.
McCormacks Trail is a broad spur that ascends to Circuit Road. The trail is not signed, but it is well-defined. There is some blackberry infestation, but it is manageable.
I followed McCormacks Trail for 3.2 km until I reached the junction of Circuit Road. I turned left and followed the road a short distance (200 meters) to continue my ascent along McCormacks Trail.
After approximately 1.7 kilometers, I reached Circuit Road again. I turned right and followed the road for 1 kilometer, where I located the Craigs Hut Walk on my left.
I followed the Craigs Hut Walk to the top of the knoll and Craigs Hut. The view from the knoll is amazing. I could see for miles in every direction. I could see the King River valley, as well as the peaks of the Victorian Alps.
I spent some time on the knoll enjoying the view and taking photos. Then, I headed to Craigs Hut to check it out. Craigs Hut is located in a sheltered spot among snow gums. There is a long-drop composting toilet and fire pits nearby.
I set up my tent and then cooked dinner on my camp stove. I enjoyed listening to the sound of the wind rustling through the snow gums as I ate my meal.
After dinner, I sat by the campfire and reflected on the day’s hike. I had ascended McCormacks Trail and reached Craigs Hut. I was looking forward to the next day of hiking on the Buller Huts Trail.
Specific tips for Day 6:
- Be aware of the blackberry infestation on McCormacks Trail.
- Take your time and enjoy the views from the knoll near Craigs Hut.
- Check the water availability at Craigs Hut before you start your hike. If the rainwater tank is empty, you will need to carry enough water for the day.
Day 7: Craigs Hut to Mount Buller
I woke up early on Day 7 of my hike on the Buller Huts Trail. I was excited but also disappointed to be finishing the trail and returning to the Mount Buller Resort.
I started my day by locating the Clear Hills Track and following it in a south-westerly direction towards the summit of Mount Stirling. The trail is well-defined and easy to follow. It winds its way through alpine meadows and snow gums.
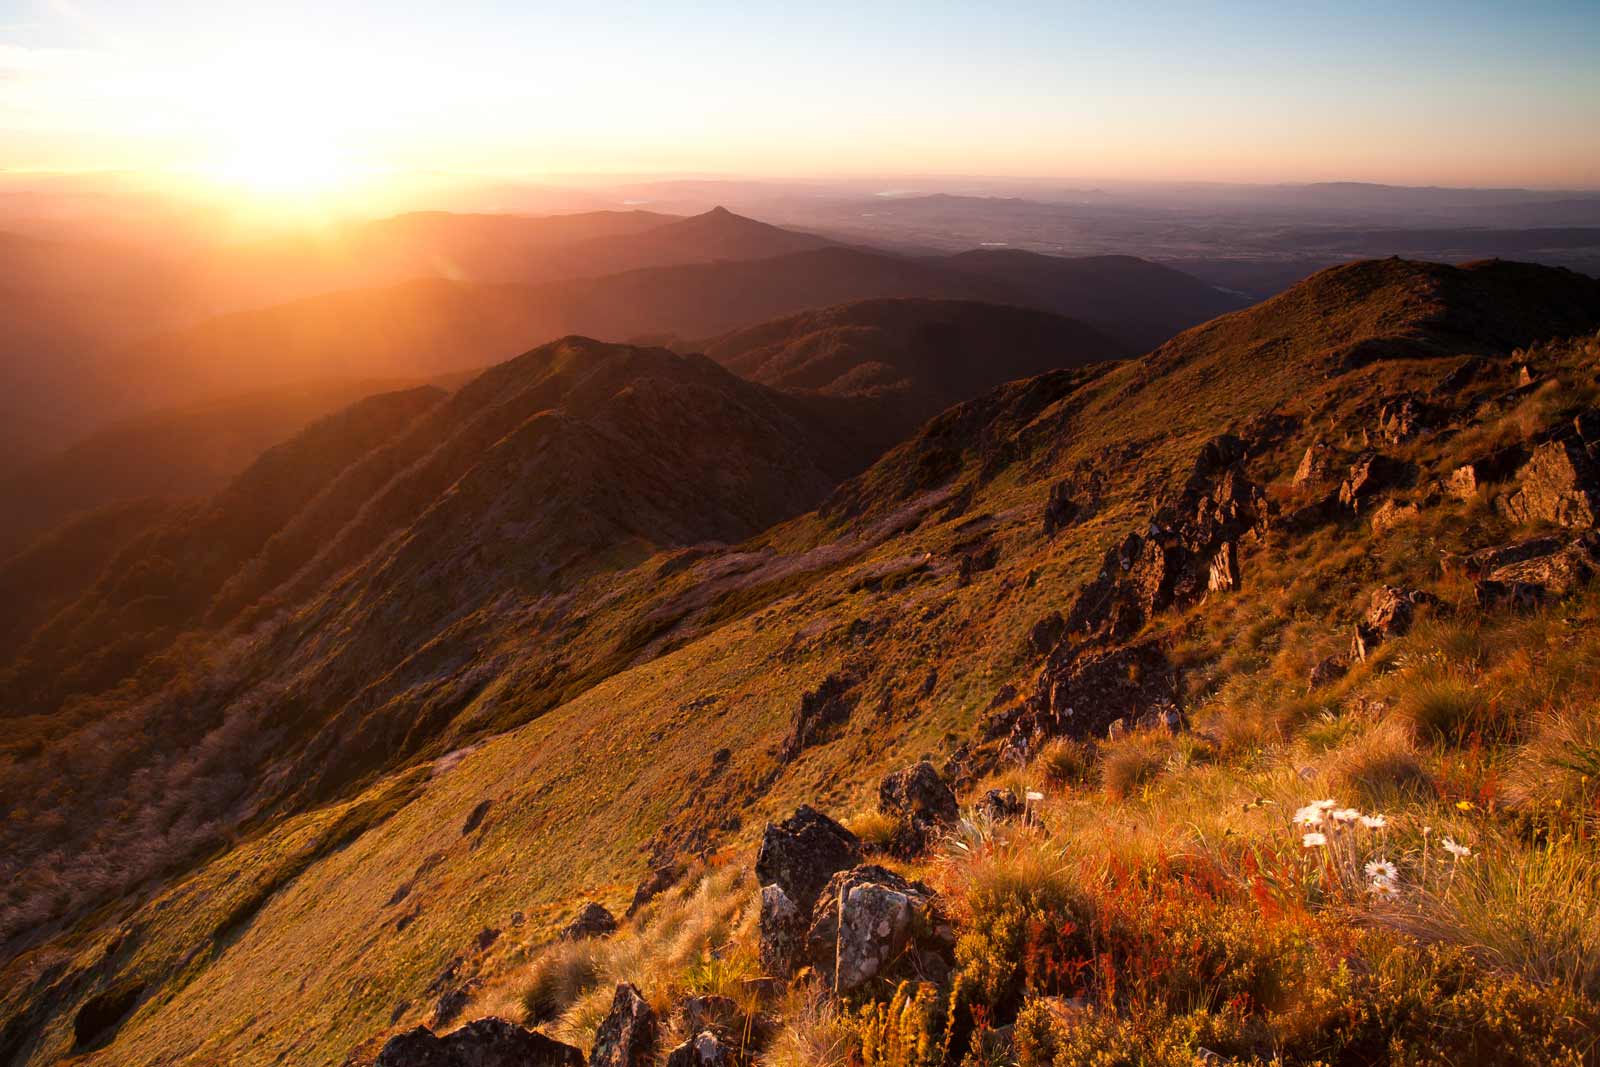
After about 2 km, I reached the summit of Mount Stirling. The view from the summit is amazing. I could see for miles in every direction. I could see the peaks of the Victorian Alps, as well as the distant plains of Victoria.
I spent some time on the summit enjoying the view and taking photos. Then, I started my descent to Howqua Gap.
I followed the Howqua Gap Trail south from Mount Stirling. The trail is steep in places, but it is well-maintained. I passed by several high country huts, including Bluff Spur Hut and Geelong Grammar School Hut.
After about 2 km, I reached the trail junction at Howqua Gap. I turned west and followed Corn Hill Track along Wooly Butt Spur past Howqua Gap Hut to Corn Hill Road.
After a short distance, I turned right onto the Wombat Trail and followed this west to the junction of Stirling and Corn Hill Roads.
I continued along Stirling Road until I located the first Village Circuit trail on my left. I followed this trail along its length until I reached The Avenue. I turned right, then a quick left before the car park, and followed the trail back to Athletes Walk and the end of the circuit.
I was happy to have finished the Buller Huts Trail. It was a challenging but rewarding hike.
Specific tips for Day 7:
- Take your time and enjoy the views from the summit of Mount Stirling.
- Be aware of the steep terrain on the Howqua Gap Trail.
- Be careful when crossing Corn Hill Road.
- Enjoy the walk through the village of Mount Buller at the end of the hike.
Final Thoughts on the Epic Buller Huts Trail
The Buller Huts Trail was a challenging but incredible 96km, 7-day circuit hike through some of the most stunning alpine terrain in Victoria, Australia. With spectacular views from many mountain summits, it has the potential to become a must-do hike for many people.
I must stress, though—this trail is not for the faint of heart. With long days of hiking, steep climbs, and unpredictable weather, the Buller Huts Trail is a true test of endurance and resilience.
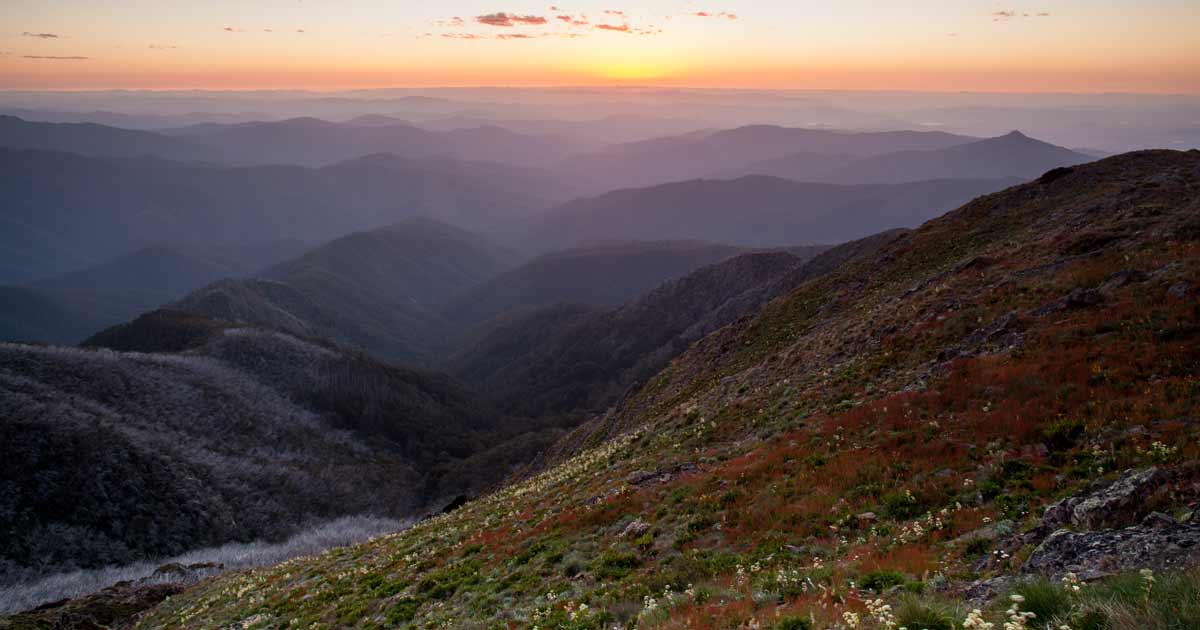
But if you’re up for the challenge, the rewards are well worth it. From the moment you step foot on the trail, you’ll be surrounded by breathtaking scenery. You’ll hike through snow gum forests, alpine meadows, and rocky outcrops, with stunning views of the surrounding mountains at every turn.
And as you reach each mountain summit, you’ll be treated to even more incredible views. On a clear day, you can see for miles in every direction, with snow-capped peaks stretching as far as the eye can see.
Of course, no hike is complete without its challenges. The Buller Huts Trail is no exception. You’ll need to be prepared for long days of hiking, steep climbs, and unpredictable weather. But don’t let that deter you. With a little planning and preparation, you can have an unforgettable experience on the Buller Huts Trail.
If you’re looking for a challenging and rewarding hike, I hope you find the Buller Huts Trail is the perfect choice for you. Just be sure to be prepared and pack for all conditions, and you’re sure to have an incredible time.
Trip report by Darren Edwards
Date: November 2017
Distance: 96 kilometers
Duration: 7 days
Difficulty: Grade 5 (Challenging)
Weather: Mostly sunny, with some rain, hail, and snow

